
Learning How to Make a Lavender Wreath
- Beth Hammerberg
- Jun 24, 2021
- 2 min read


I love building lavender wreaths! I remember the first wreaths that I tried to assemble... they were pretty pitiful looking! Lavender stems shrink as they dry so they would never hold into the wire or clamps. Wreaths didn't look very full and a stem reveal never worked out for me. It was discouraging.
I stuck with it, though, and have developed several "tricks" that help me consistently produce beautiful, full, and very sturdy lavender wreaths. I'm looking forward to sharing those tricks with you at one of our wreath classes!

A fresh lavender wreath is an experience like no other. The scent is intoxicating! Whether you make your wreath during a class or you order one I have made specially for you, you can extend the fresh life of the wreath by keeping it in a cool location in your house and spritzing it with water once or twice a day.

Dried lavender wreaths will last at least 3 years and still look amazing. They will gather dust and cobwebs over time and will shed buds if you bump them. You can refresh their scent by spritzing them with a mixture of water and lavender essential oil. I reserve my Riverina Thomas oil specifically for people who have made or purchased "Tommy" Wreaths.
Once your wreath looks well aged, my

suggestion is: put your wreath in a pillow case and shake off all of the buds for use in soaps and other crafts. Then call me for a new fresh wreath!
On the left is a 3 year old wreath in a house FULL of children. On the right is a 1 year old wreath that has been bumped plenty but still looks awesome.

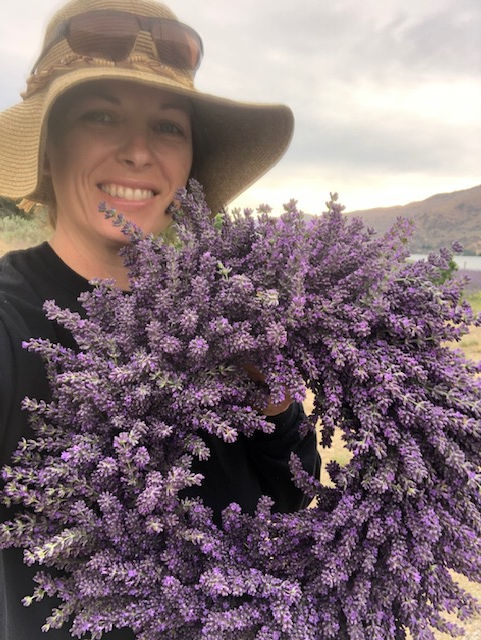
Here is a wreath I made in the summer of 2020. The cultivar I used was Riverina Thomas. This is my cultivar of choice for fresh wreath classes.
You can see a sneak preview of one of my tricks in the bottom right hand corner.... I bundle the lavender using rubber bands.
There is definitely more to be learned at our wreath classes and it certainly helps to have a well trained eye guide you through assembling your wreath.
I hope you will join us!

Comments